
Box Of Color One
A platform to shape your sound like no others. Nine stages in series, two voices, and not one number on the interface.
Version 2.0 · AAX, AU, VST3 · 64-bit only
Sold and delivered through Audioloom
Your everyday sound shaper box
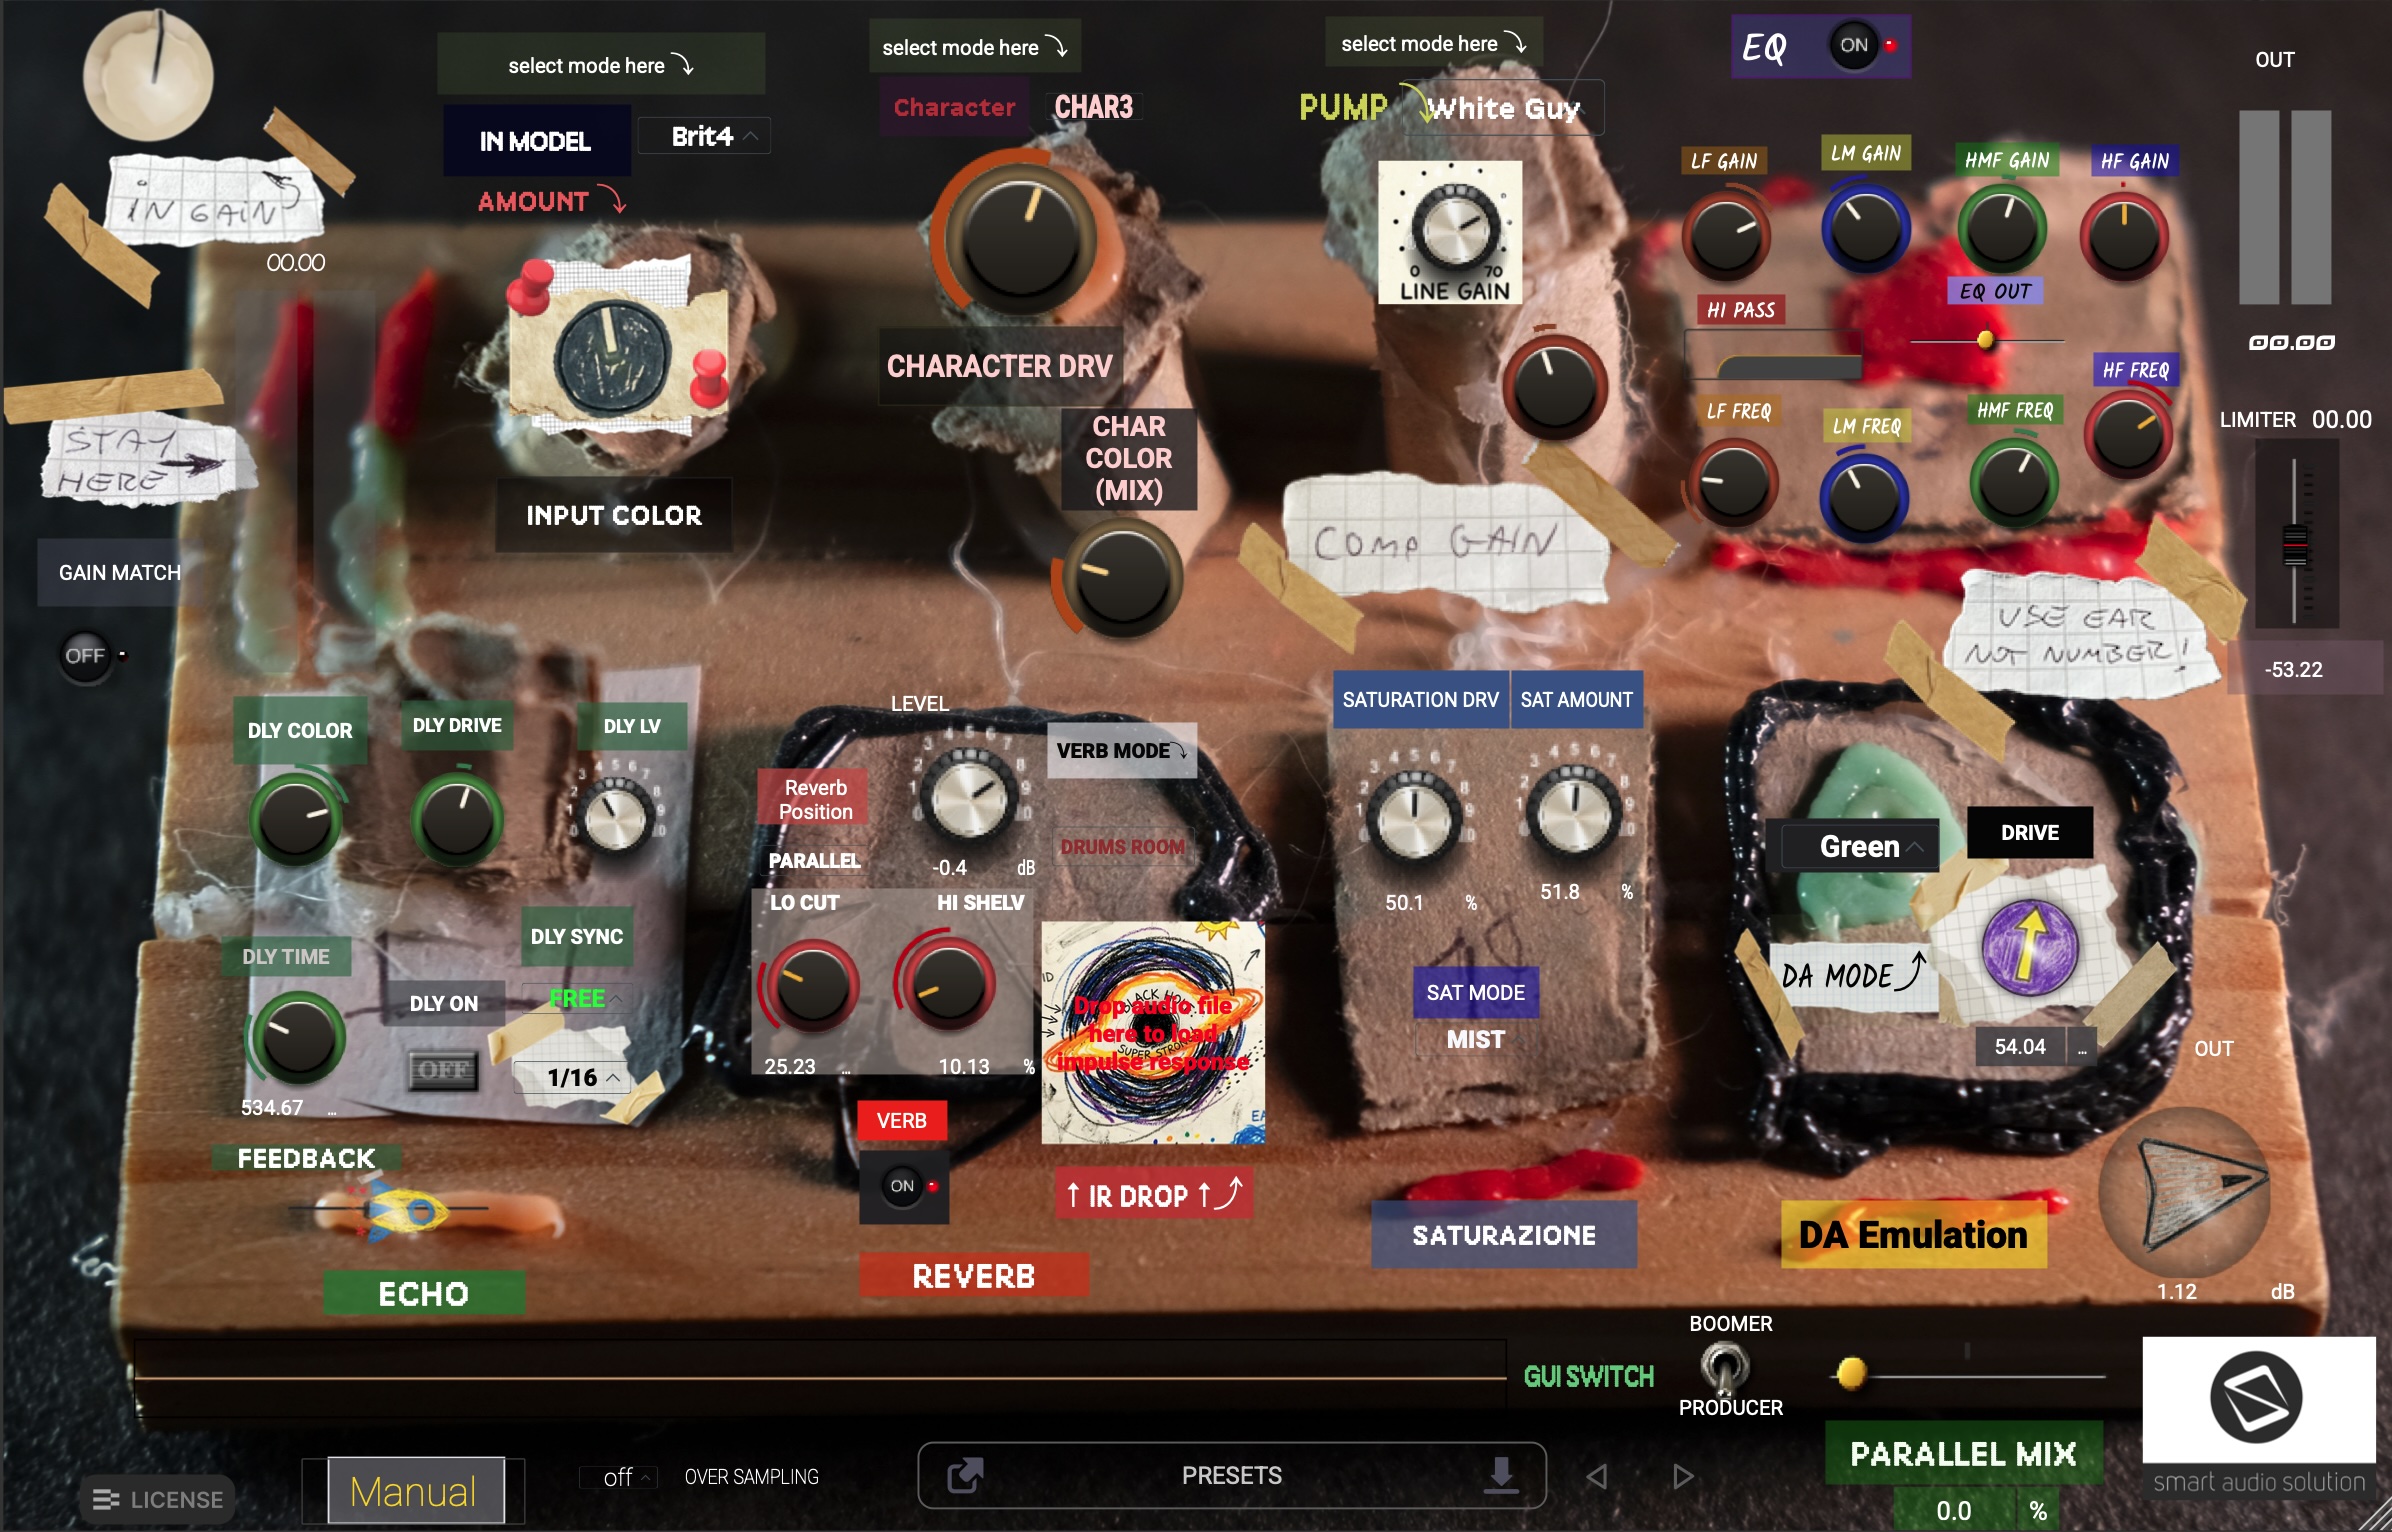
Despite this (deliberately) quirky aspect, this plugin is actually very powerful. It's a channel strip, it's a distortion pedal, it's an ambience generator — yet it's none of these things at the same time. Box Of Color can be very subtle, compressing the sound in an analogue-style way, or it can function just like your favourite pedalboard setup.
I have deliberately not included any names, specifications or emulated brands; the world is already full of them, and I'm not about to add to the dogma. I wanted to remove all — or almost all — references so that we can get back to using our ears.
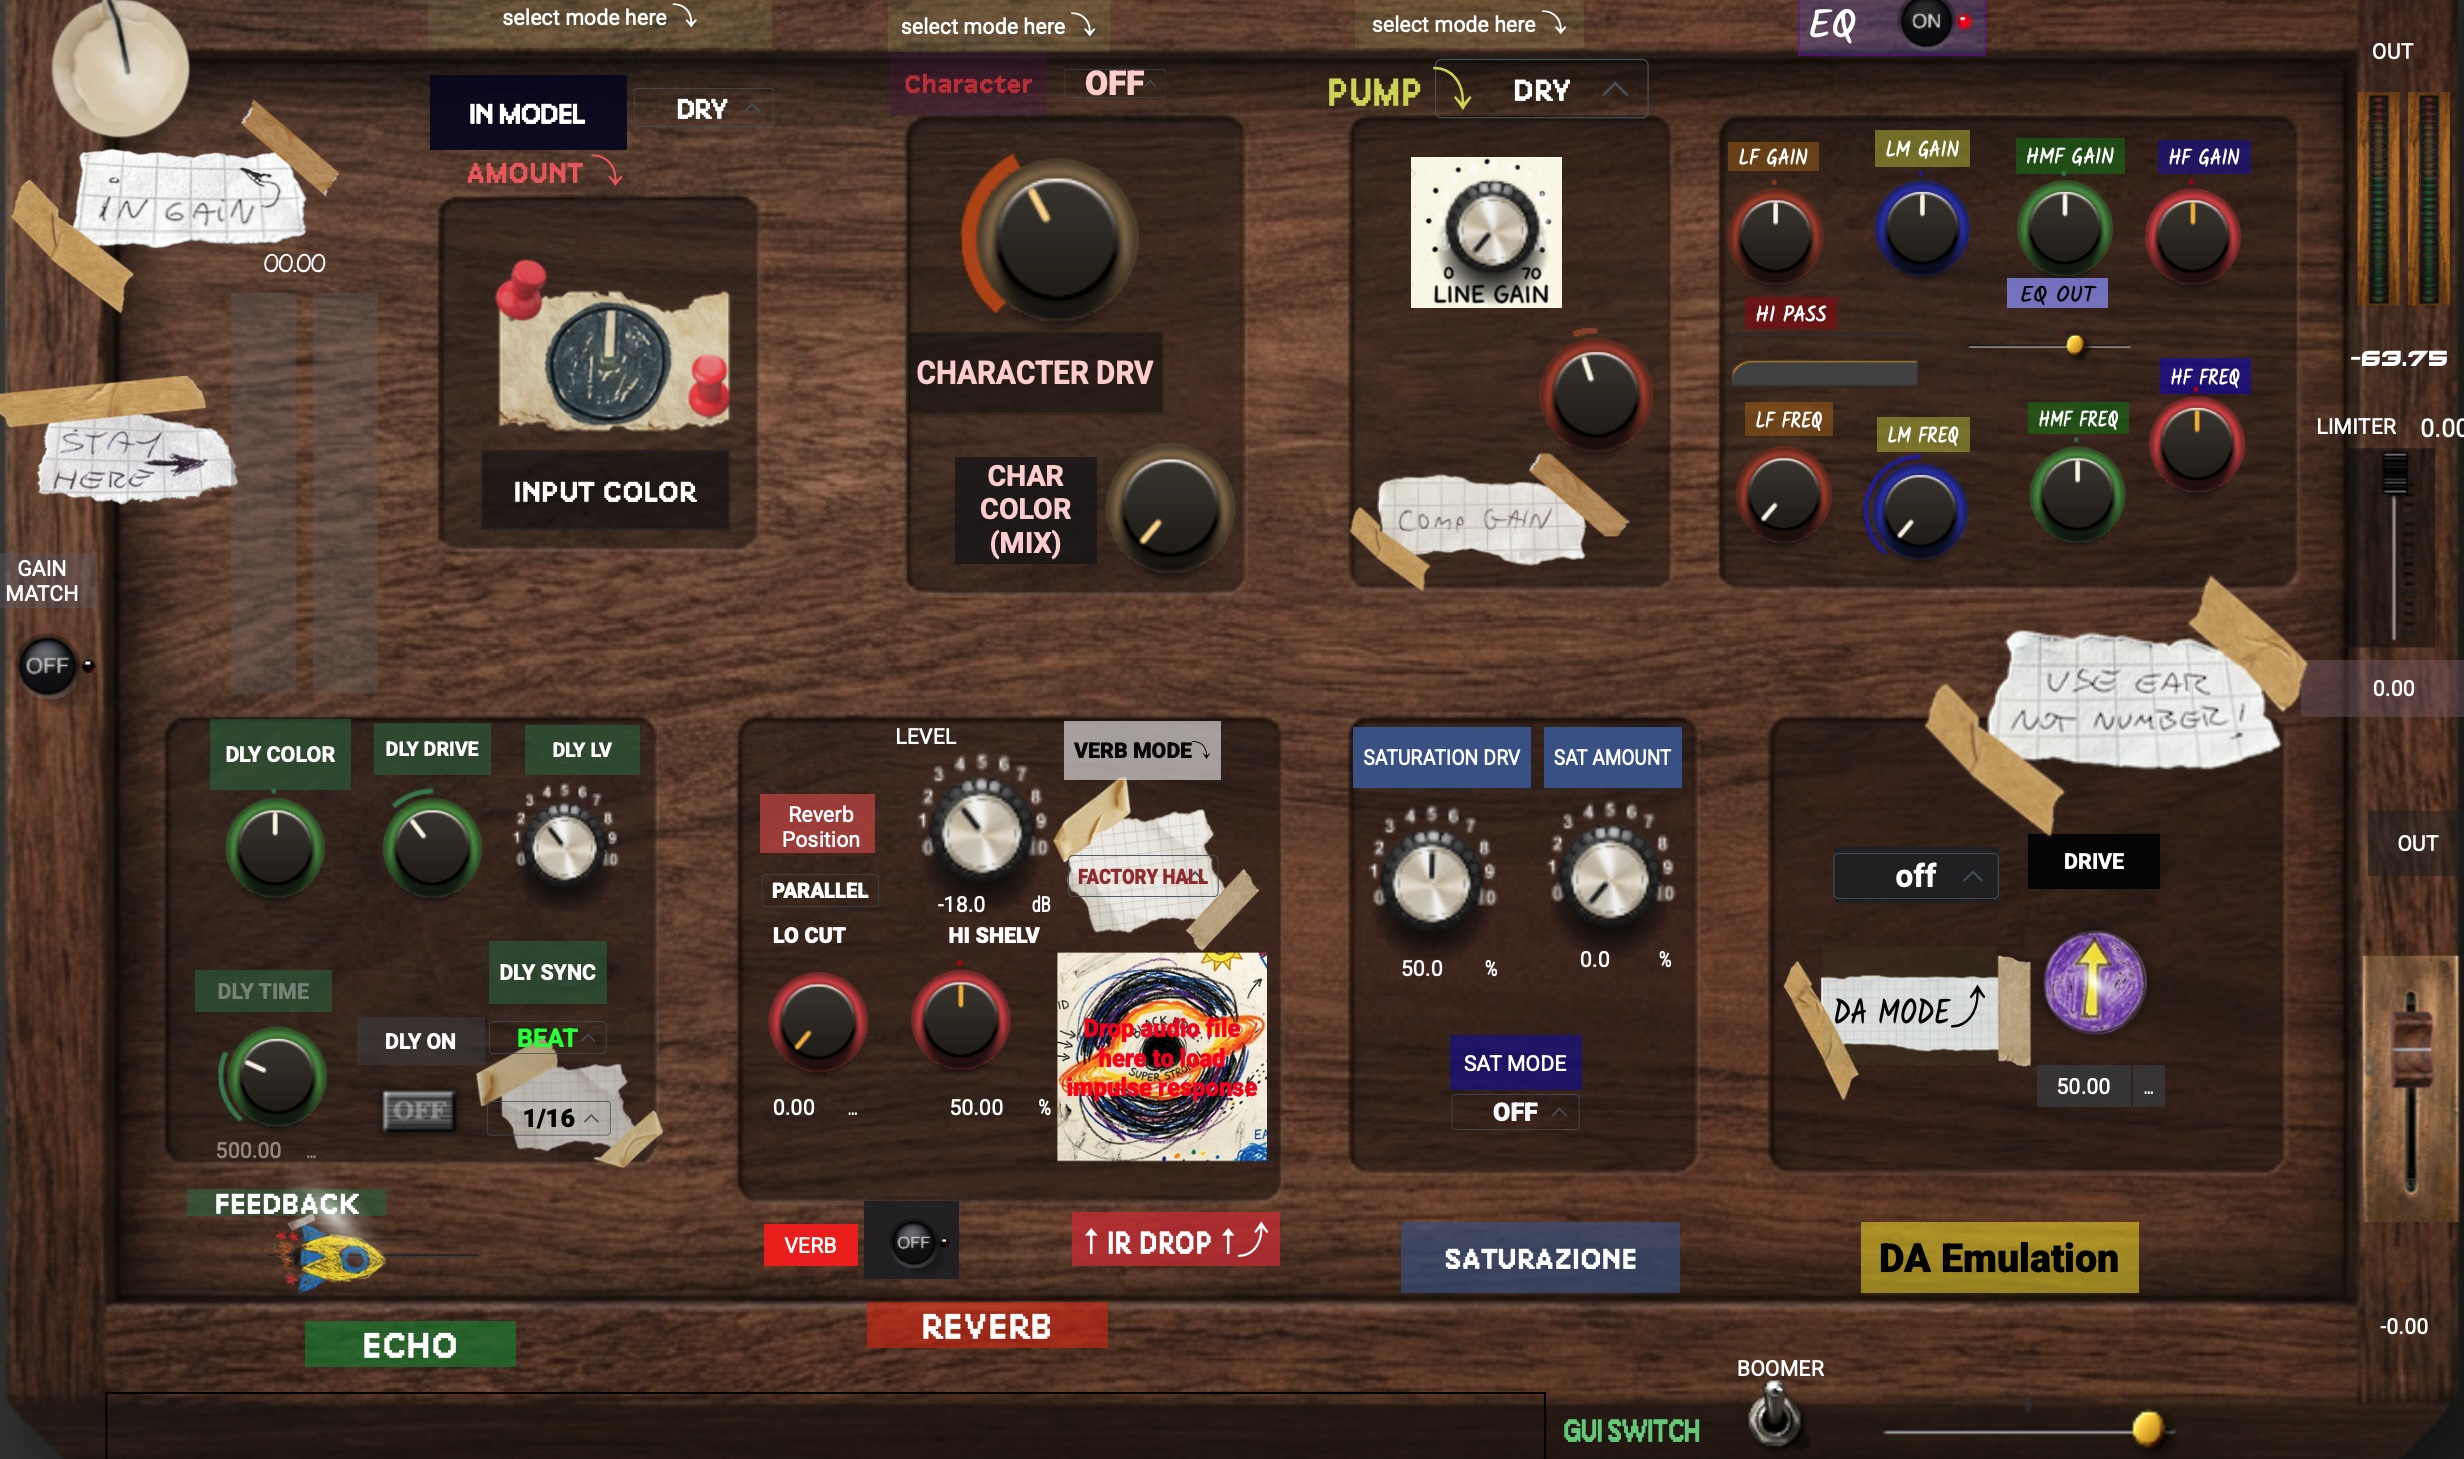
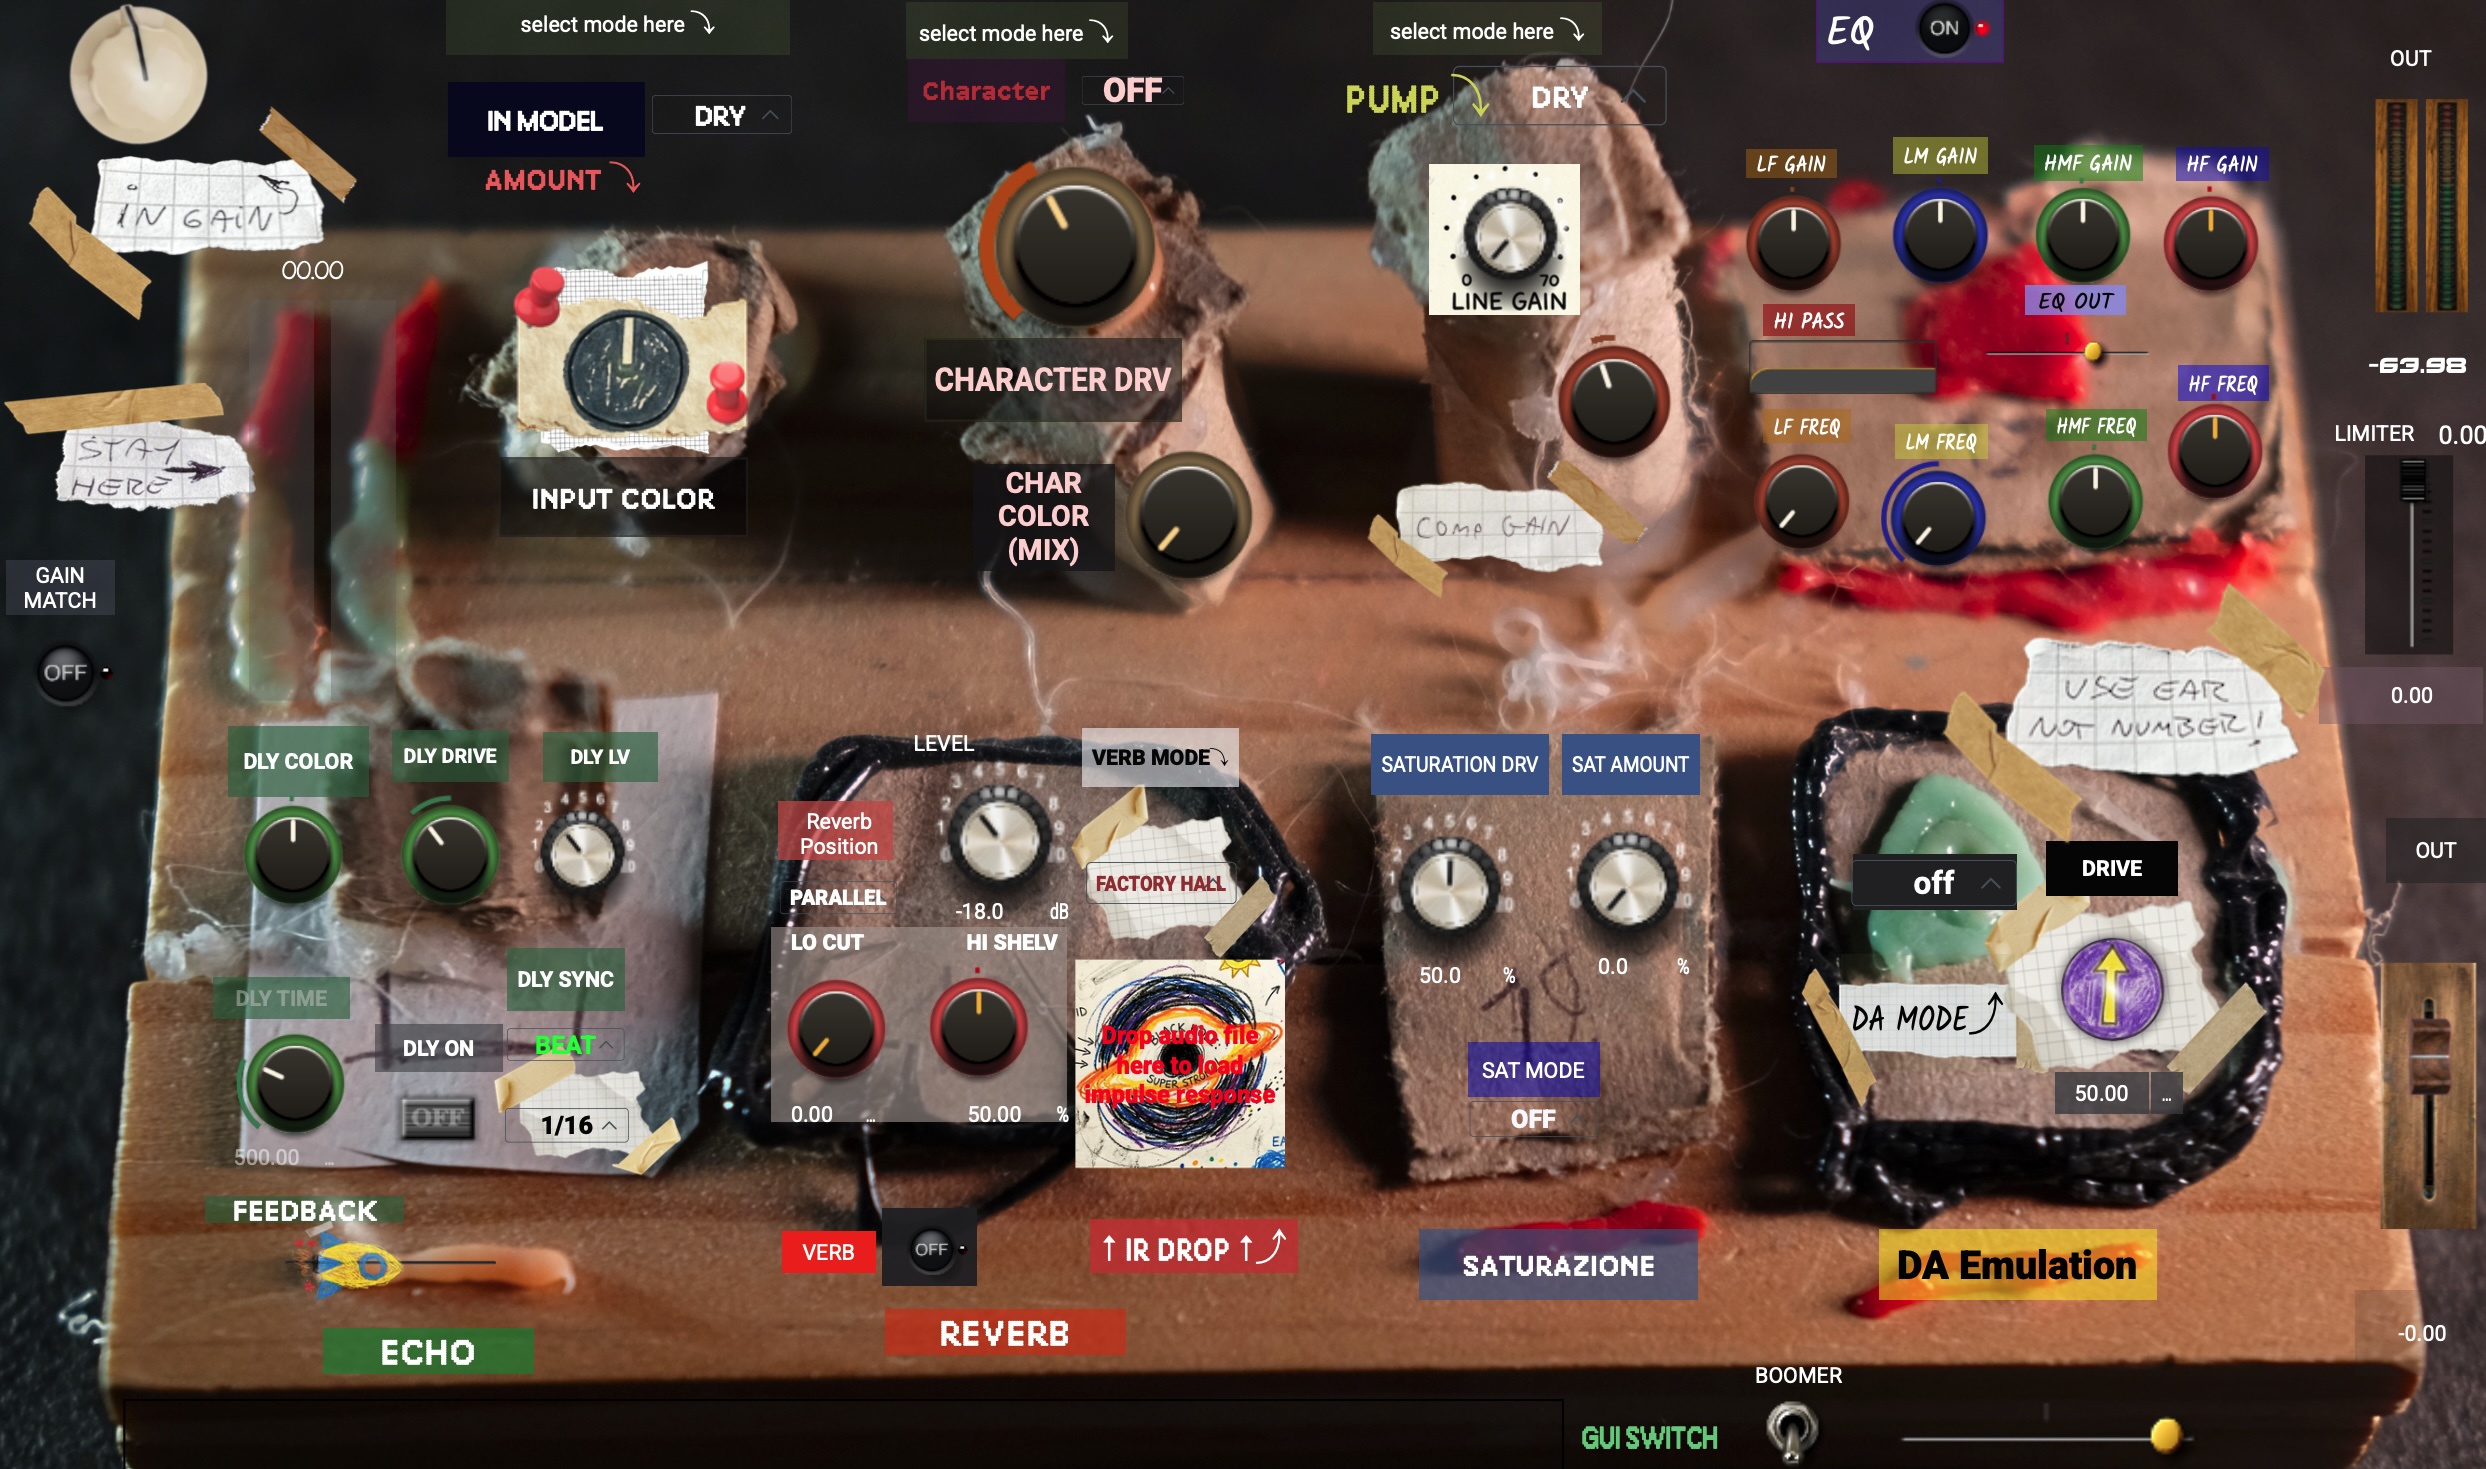
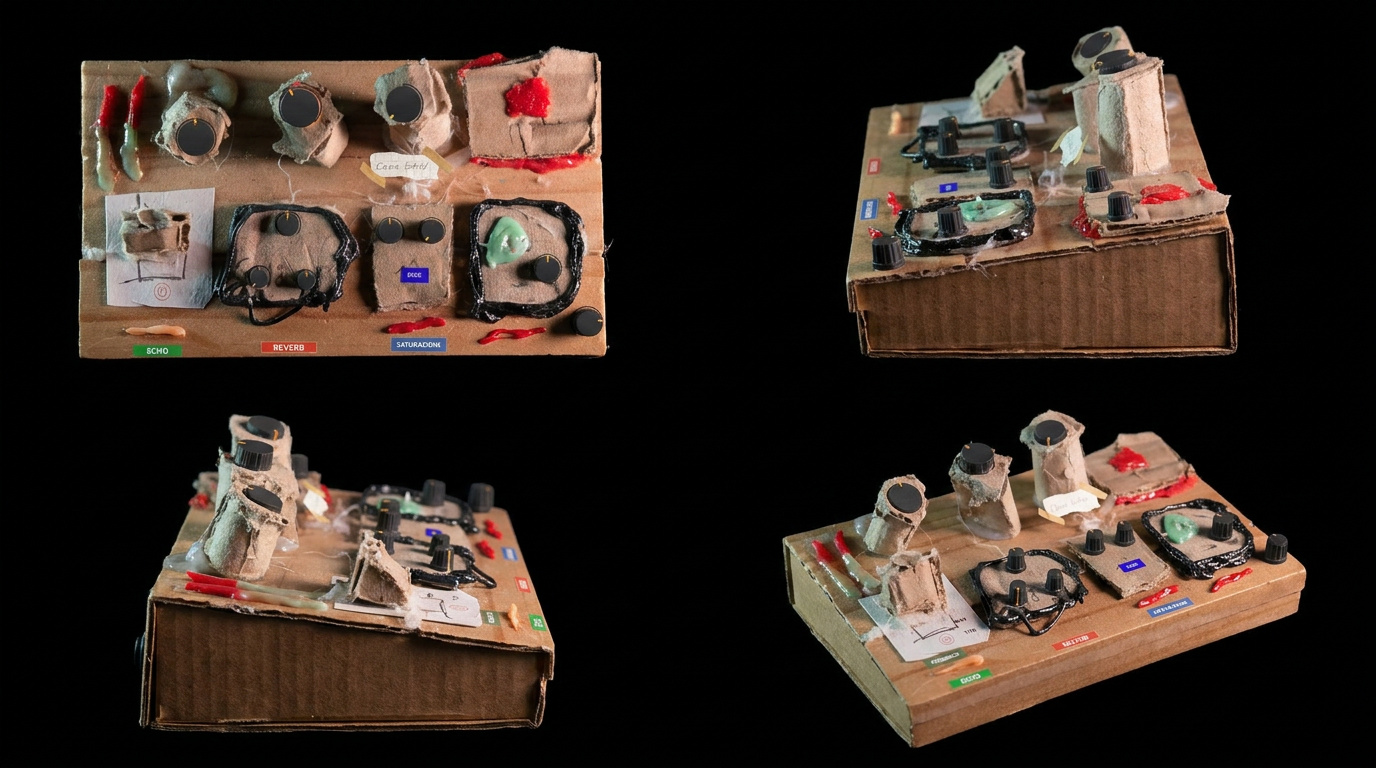
The GUI is deliberately disorienting for two reasons: firstly, because we're like children playing with music, and the more we play, the more fun the music will be; secondly, to avoid using the mechanical part of the brain. Giving you irrelevant parameters forces you to search for the sound.
Don't be fooled by appearances; the sound this tool can give you is absolutely top-notch — you'll see.
Nine stages at your fingertips
They are generally connected in series, but the interaction between them is very musical. You'll often find yourself going back to adjust the start of the chain as you shape the sound.
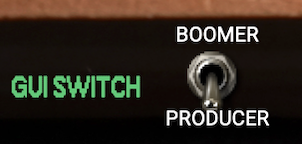
Boomer / Producer
Two voices for the same box. Boomer for older records, Producer for a cleaner, modern sound.
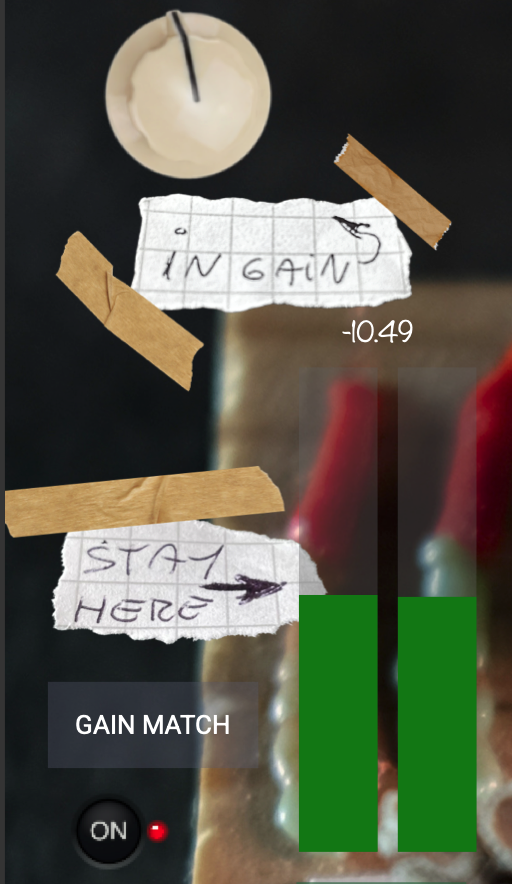
Input and level
I'm happy to be at around −18 dB. Hey, I'm digital, right? So gimme headroom.
Turn the input level knob until the VU meter reaches the top of the green zone. The system has been optimised to operate between −18 dB and −12 dB. The "Stay Here" arrow is set to −16 dB, the first yellow segment to −12 dB. You can go beyond, but if you want the best out of the chain, stay in that range. Gain match is an auto gain match averaging peak and RMS — use it if you're unsure about the level.

Auto gain
One more weapon for your ears when the overall sound doesn’t add up.
The gain match matters for the whole saturation chain: it keeps you in the right zone of each stage. Gain Match On/Off turns the module on or off. Gain Analyze springs back the instant you trigger it — in the background it studies that slice of audio and, within a few seconds, lines the gain up to the correct level.
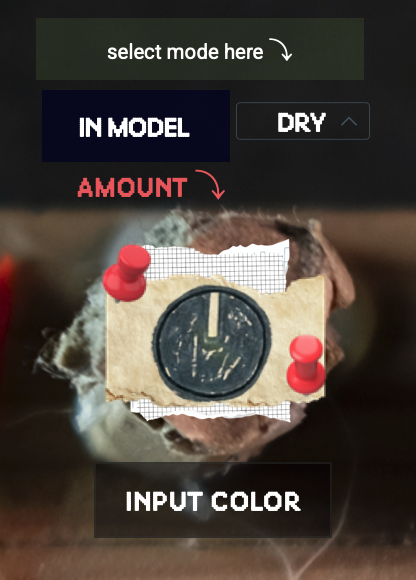
Color
A subtle colour to start with. Use only this stage if you want a channel strip.
Five input models. Do you really want to spoil the magic and have me tell you what they are? Come on. But I'll give you a few clues: three emulations of British mixers — two brands, three models — then an esoteric tube unit, and finally a lovely tape machine. DRY = bypass.
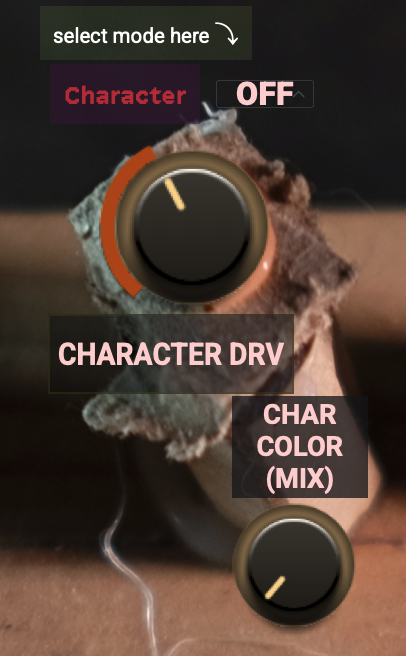
Character
This is where things start to get interesting.
Five saturation, distortion and euphoria generators. Character modulates the input and sets the saturation and compression curve of the stage; the Color knob sets intensity and the wet/dry percentage.

Compressor
Could a compression stage be missing? Of course not.
First off, don’t treat this as an ordinary compressor: it’s built to add character through compression. If you just want plain, transparent compression, put it before or after Box Of Color instead.
Four models, and they sound brilliant — I'm biased, I know. Two of them are dual-stage designs that are extremely rare and almost impossible to find. The other two are timeless classics. Pump decides how hard the compressor works; Comp Gain compensates for your forays into the world of compression. Be grateful for it and don't overdo it. Or go on and do it — you're adults, after all.
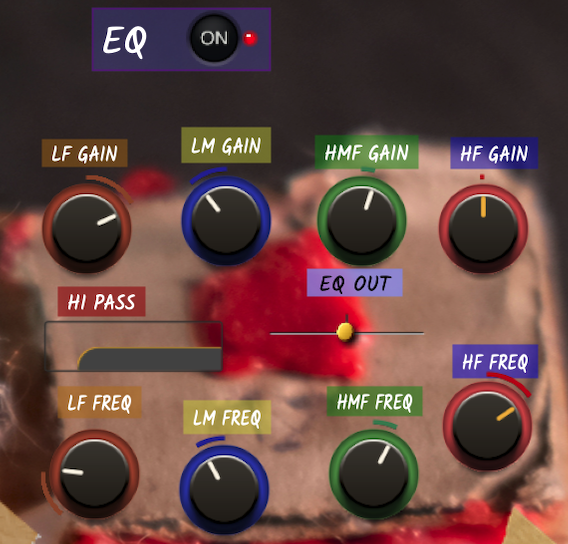
EQ
Do I really have to explain what's going on here? Come on.
The whole point of this playful little platform is to use your ears, so there are no numerical readings of any kind — no gain, no frequency, nothing. Just turn that bloody knob, and if it sounds good, well, that's it. We can treat ourselves to a bit of this every now and then, can't we?
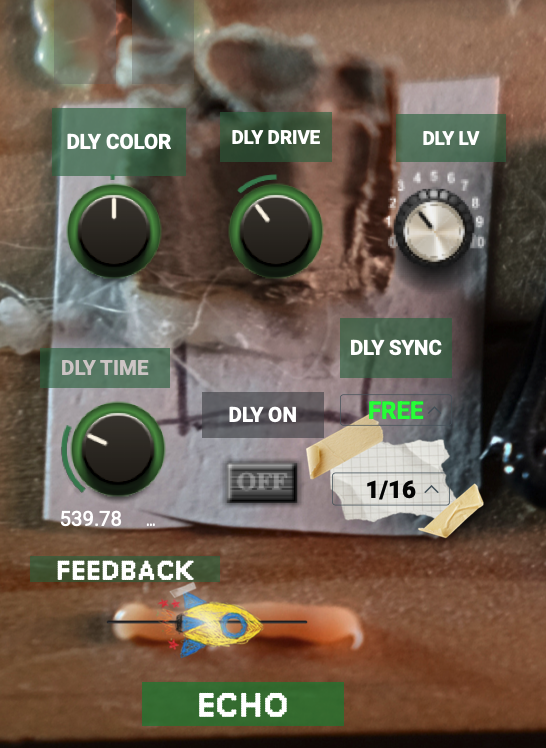
Delay
A simple delay can be devastating when placed in the right audio chain.
DLY Color makes the sound brighter or darker — experiment with it in a musical context. DLY Drive is a saturator after the filter and before the delay. DLY Time, when unlatched from the grid, lets you build tight slapbacks or off-beat delays freely. DLY Sync runs 1/1 to 1/16, triplet or straight. And the feedback will take you home.
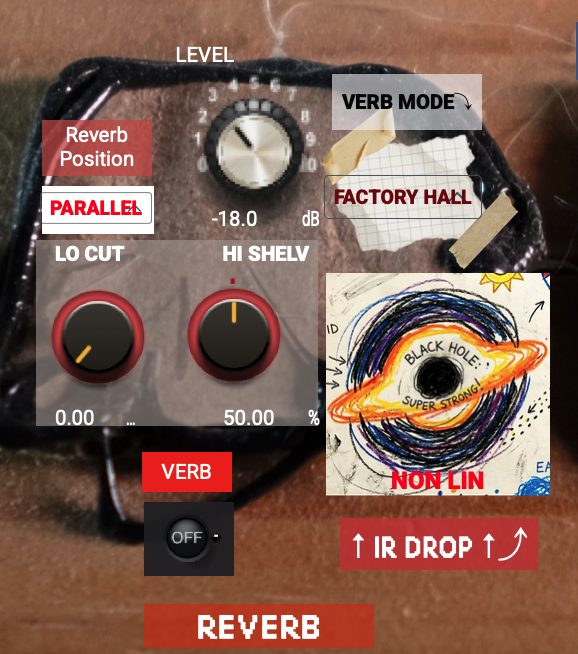
Reverb
Are we sure we should call them just "reverbs"?
Here too I'll deliberately avoid telling you what happens, because that's part of the fun. A tip: try the reverb models while listening with the next stage engaged if you want to get creative, especially on synths and unusual vocals. A low-cut and a high-shelf will help you place the sound in the mix. Position puts the delay before the reverb or runs them in parallel. IR Drop lets you load your own impulse response. The small × at the top right clears the loaded impulse.
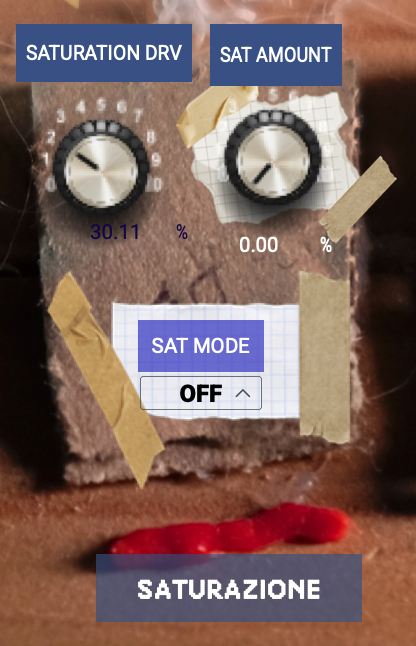
Saturazione
Saturazione stands for saturation — a bit of national pride.
Back in the 1960s Italy was among the best at making mixers and delay units. This stage is magical and dangerous: if you want a single track to really stand out in the mix, go for it. It works as saturator, compressor and expander at once. Saturation Drive decides how hard the stage works, Amount is the dry/wet.
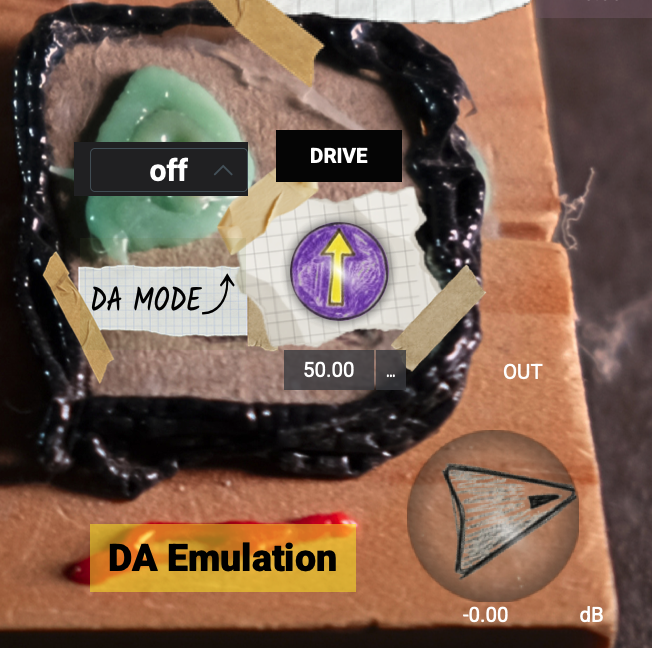
D/A Conversion
Hey mate: how many of them let you get that proper 90s sound?
I've made an exception here — the names do tell you what the output algorithms refer to. This stage is unusual but extremely useful in the right context. A tip: to recreate that 90s hip-hop sound and more besides, use the Input Colour and D/A Conversion stages and bypass everything else. You'll thank me later.
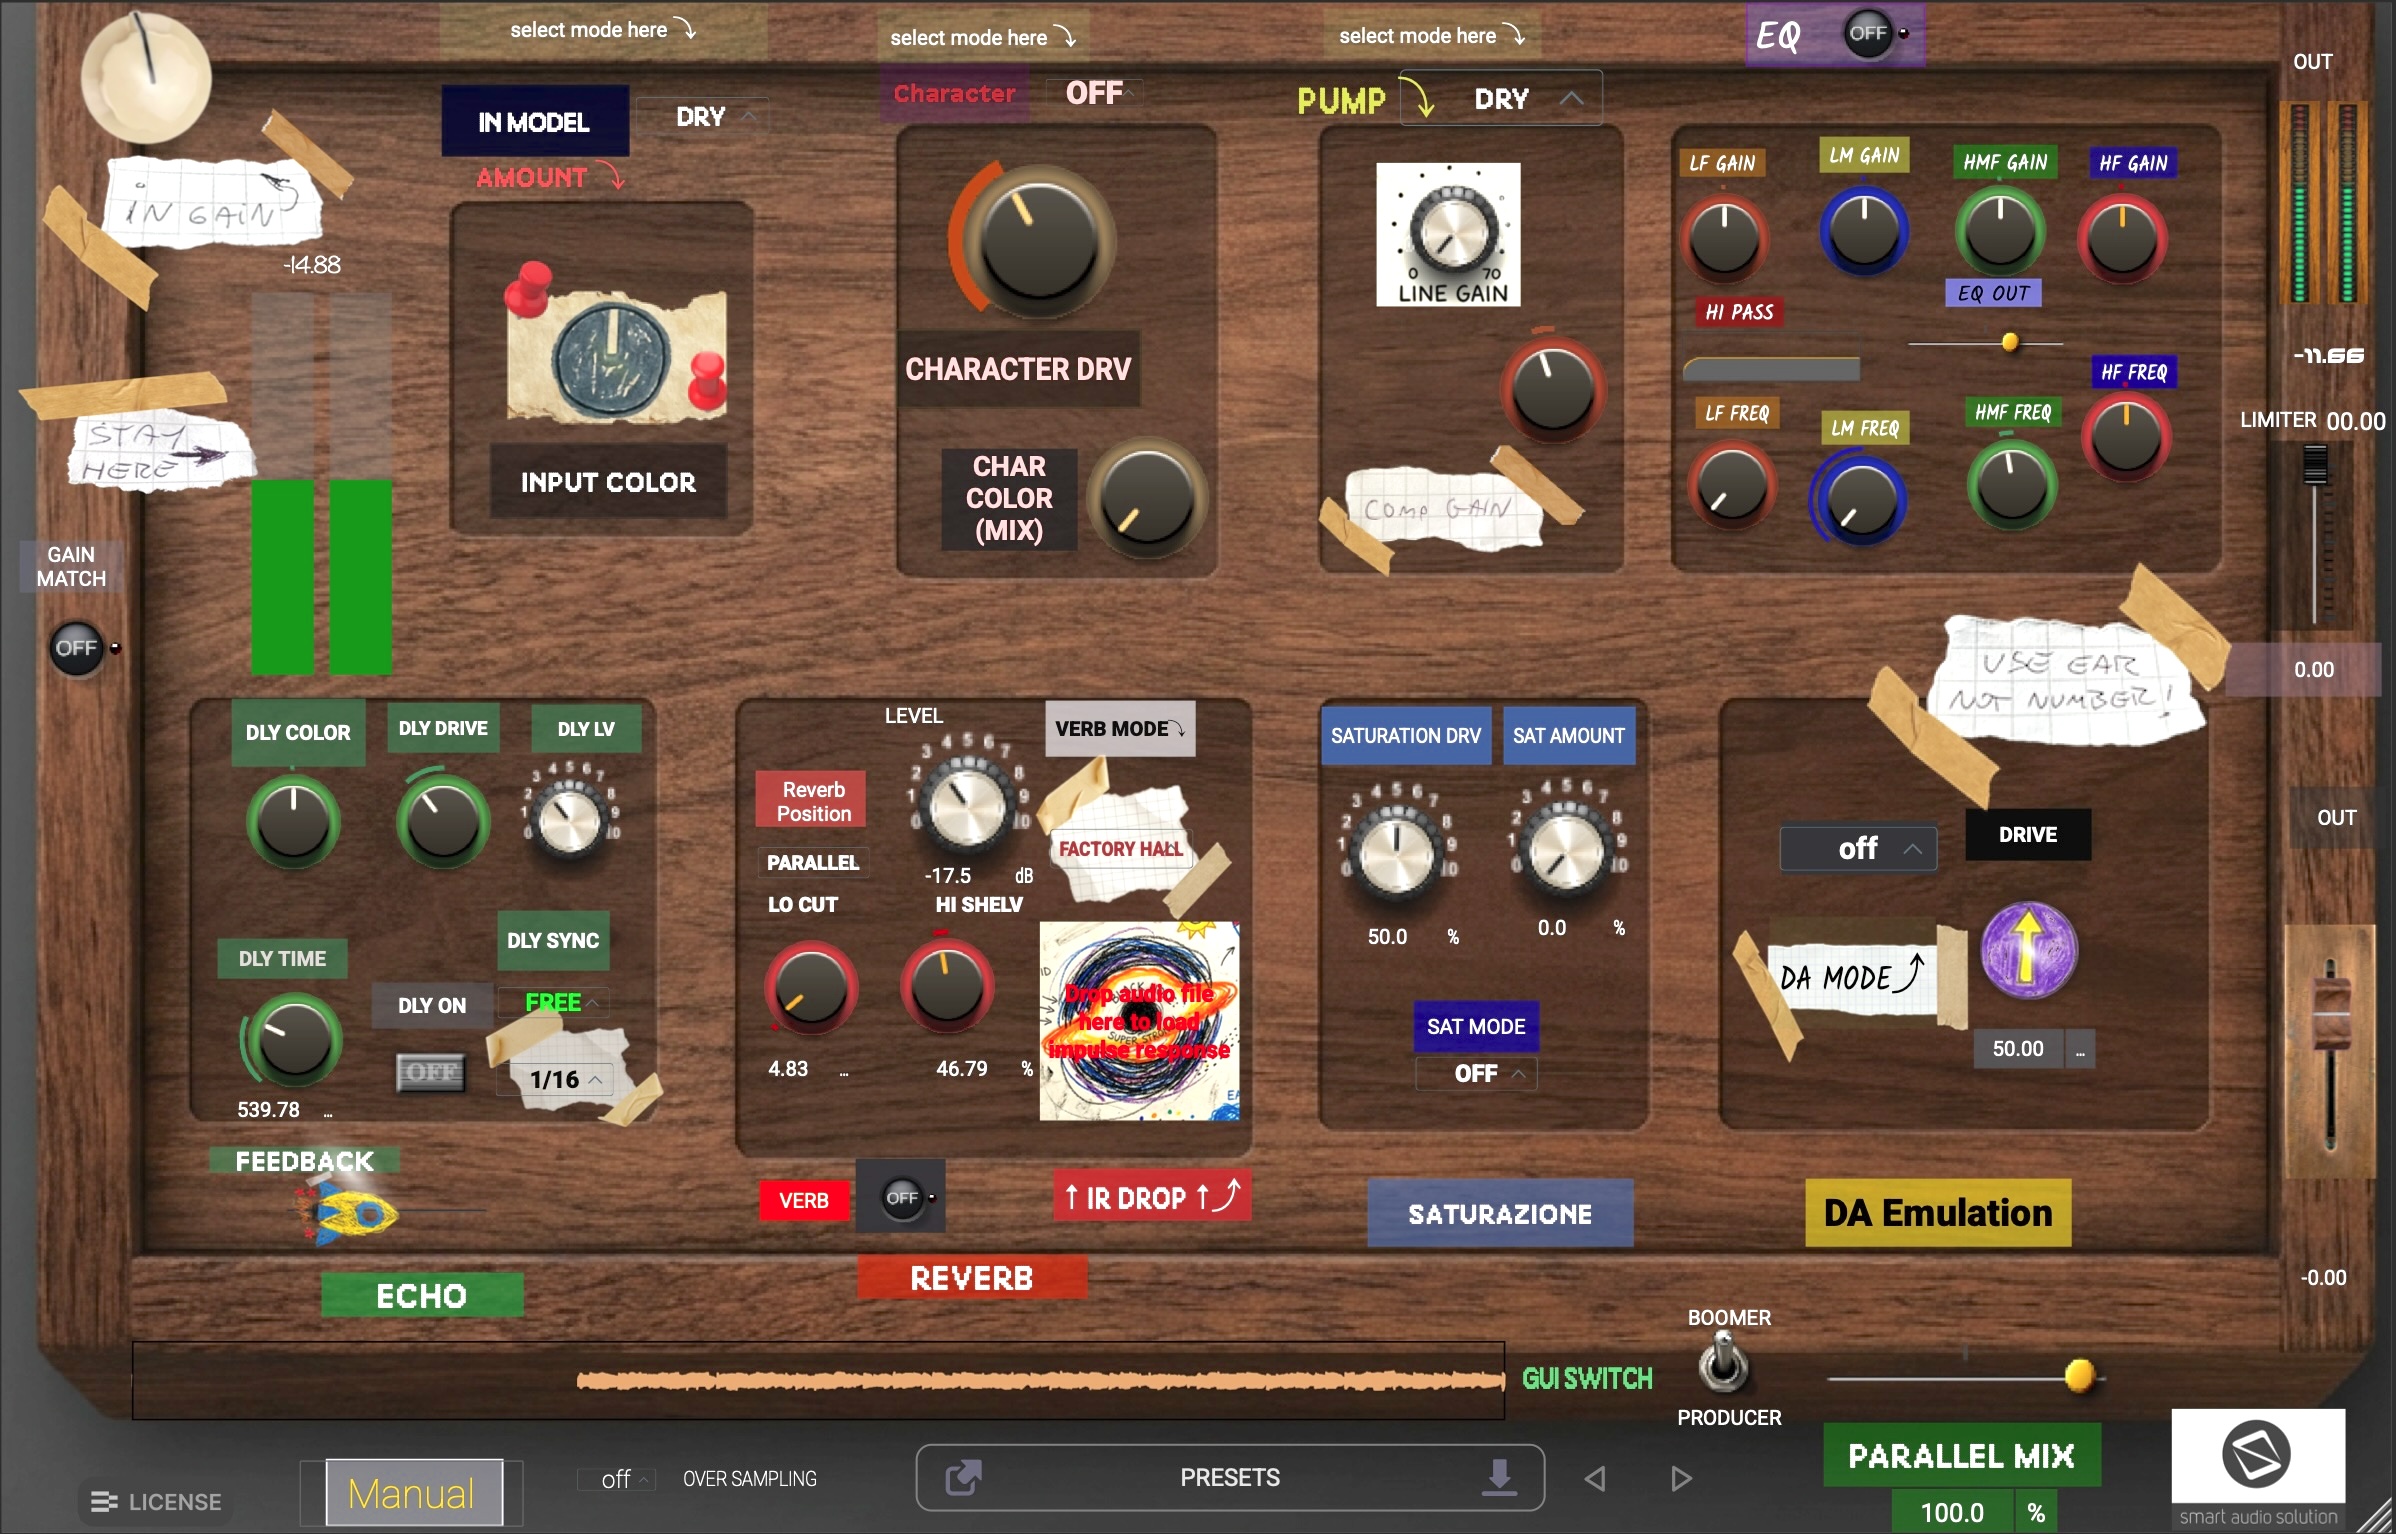
Mix and output
The overall dry/wet is there for more subtle sound design. On output gain — come on, be serious — always match the gain, otherwise your ears will play tricks on you. There is also a limiter at the very end, not for regular use, only as a safety net before the signal goes back into your DAW.
Sound examples
Every example has two versions: Processed and Dry. Switch between them while it plays — the position is kept, so you hear the same bar treated and untreated. Only one example plays at a time.
DAW support
AAX, AU and VST3 — 64-bit only.
- Ableton Live 11+ — Mac & PC, AU / VST3
- Bitwig 4+ — Mac & PC, AU / VST3
- Cubase 13+ — Mac & PC, VST3
- Digital Performer 11+ — Mac & PC, AU / VST3
- FL Studio 23+ — Mac & PC, VST3
- GarageBand 10+ — AU
- Logic Pro 10+ — AU
- Pro Tools 12+ — Mac & PC, AAX
- Studio One 5+ / Fender Studio — AU / VST3
- Reaper 6+ — Mac & PC, VST3
- Cakewalk Next by BandLab — PC, VST3
AAX is a trademark and software of Avid Technology. Audio Units is a trademark and software of Apple Inc. VST3 is a trademark and software of Steinberg Media Technologies GmbH.
System requirements
- macOS 10.15 or higher — Intel and Apple Silicon native
- Windows 10
- RAM 4 GB minimum, 16 GB recommended
- Disk 200 MB free on the system drive
- Formats AAX, AU, VST3 — 64-bit only
- Version 2.0, Windows and macOS aligned